How to Sand a BJD Garage Kit

Got a BJD garage kit and you aren’t sure what to do with it?
Sanding is the first step, but you’ll want to make sure you do everything right! There’s a lot to consider regarding safety and effectiveness, but most of all, you want to make sure you don’t accidentally ruin that new doll you just got by diving in with no instruction.
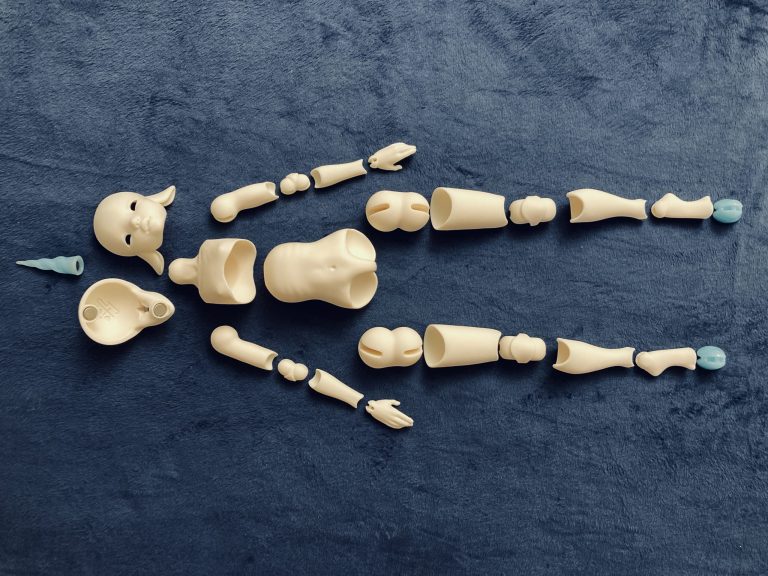
The doll featured in this post is a prototype of Vivify Dolls Ify on a prototype of the Prince body.
Materials You Will Need
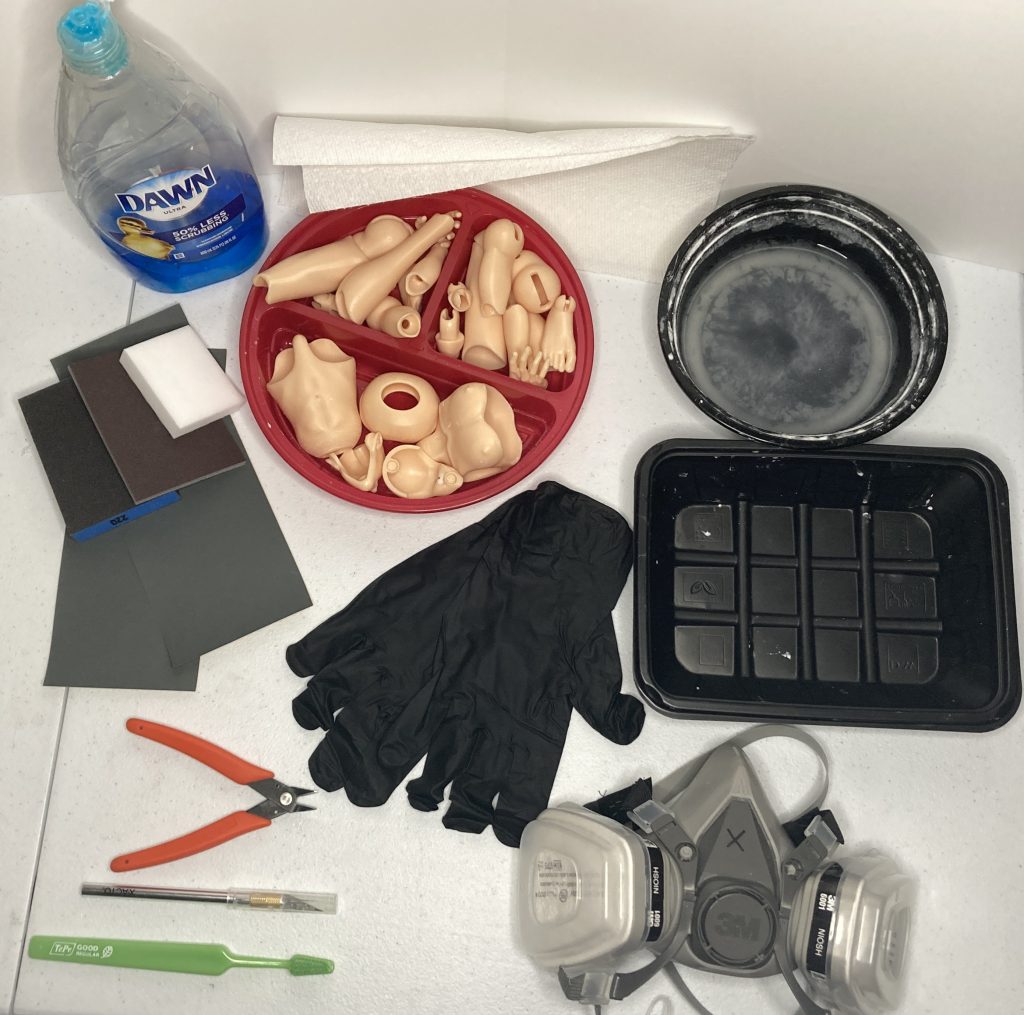
Before you get started, you’ll want to make sure you have everything you need on hand. Nothing is worse than getting in the zone and having to get up because you forgot something.
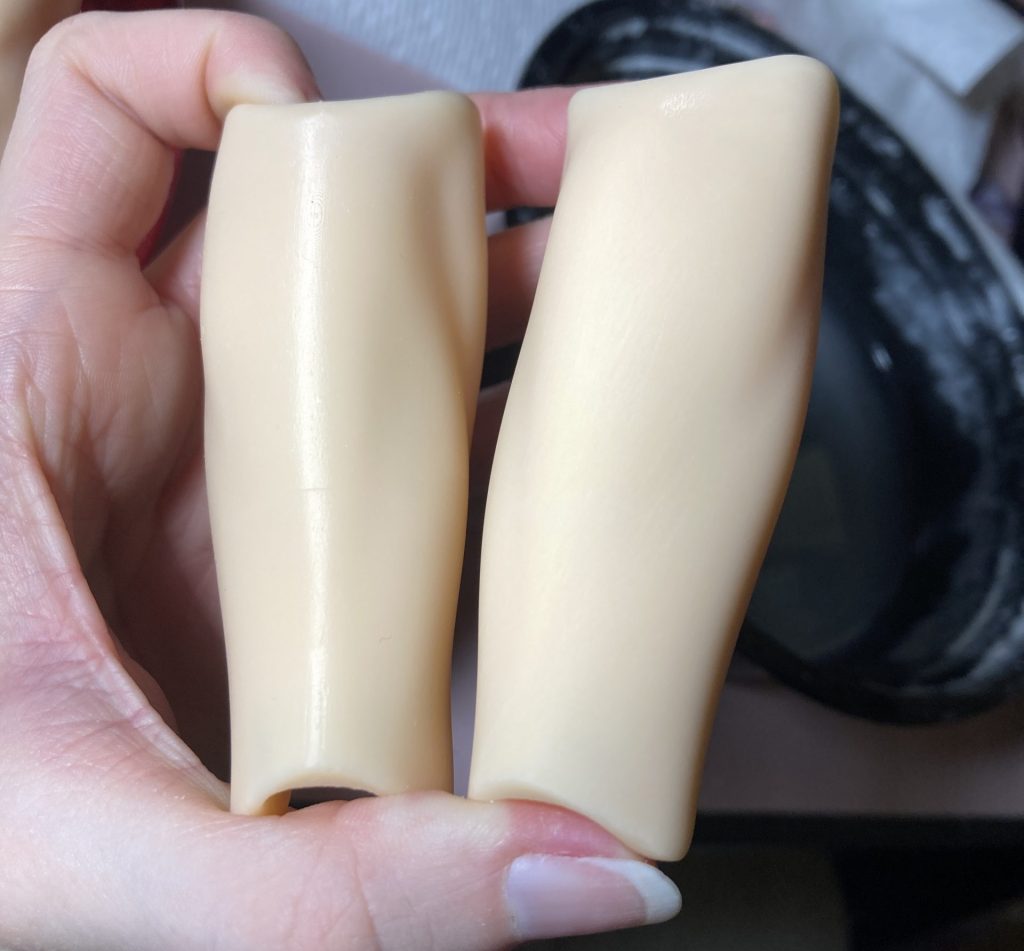
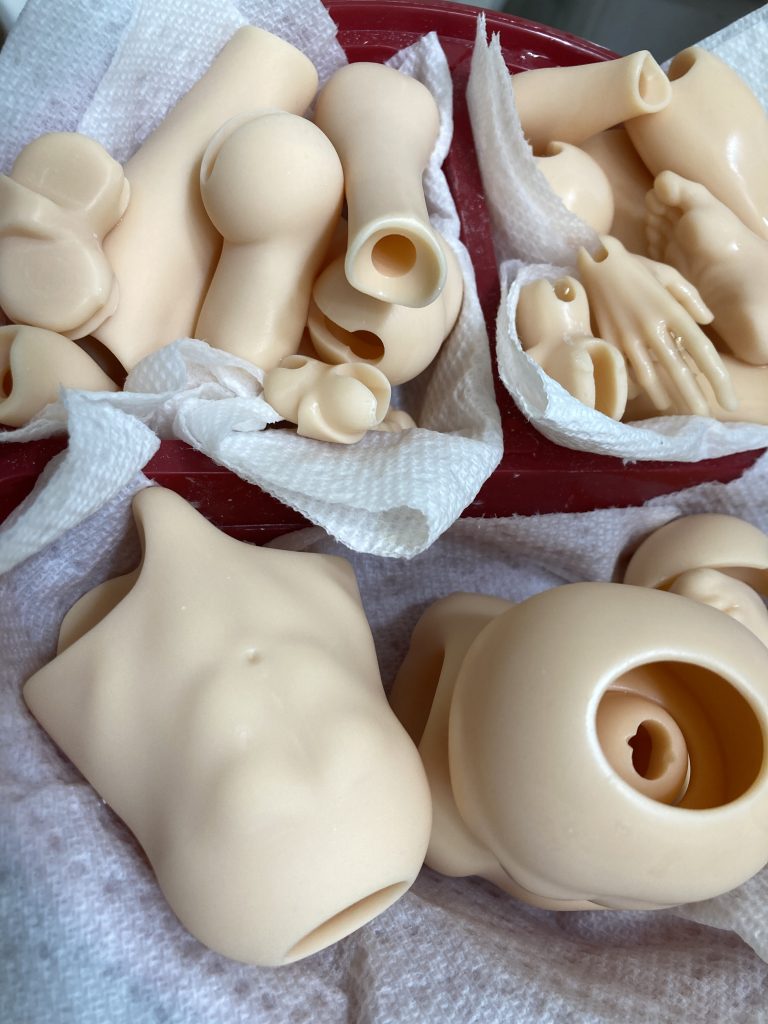
- Doll Parts (sorted) – Sometimes it’s hard to tell the difference between parts on the left and right sides. This is especially true for knees and elbows! I keep parts organized in a meal prep container for convenience, so I never try to sand a joint to fit a socket on the wrong side of the doll.
- Small Container – This is just to keep things organized. Use another container to keep parts that have been sanded and those that aren’t done yet separate.
- Respirator – This is important! Always wear a respirator when sanding resin. Try to find one that filters out organic vapors and dust particles. I use the 3M 6001 with p95 filters.
- Dish of Water – This is because you will be wet sanding the doll parts to minimize dust. This is especially important if you have pets or individuals in your proximity who cannot wear a respirator.
- Paper Towels – Having some paper towels on hand to quickly clean up a spill or dry your fingers on in between sanding parts will make the process a lot less messy.
- Gloves – These are optional, but I wouldn’t personally do this without them. Use gloves that fit well so they don’t interfere with your ability to hold small pieces. I use disposable nitrile gloves!
- Sandpaper or Sanding Sponge – Of course, you can’t sand anything without the main tool for the job! I’ll go into the specifics of what sandpaper to buy later in the page.
- Exacto Knife – This is usually not required. In some cases, a doll may be so deformed or ill-fitting that resin needs to be shaved down more efficiently. This can happen sometimes with B-Grade Garage Kits or early prototype dolls. It can also come up if you bought STL files and printed the parts yourself, since orientation, print settings, resin quality, and your environment can all influence how the parts shrink or deform. Even slight changes can result in big gaps!
- Clippers – Again, this is usually not required, but you should keep them on hand anyway. If a piece of a support is still sticking up on a part, it is always a better idea to clip it than to try to break it off to prevent gouging out some of the resin.
- Melamine Sponge – Again, this is recommended, not required. Melamine sponges (the generic name for magic erasers) can make a big difference when polishing a doll at the end, especially for soft or high-end resins.
- Toothbrush – This is used for cleaning all the sanding dust out of the crevices and valleys of the doll pieces. Obviously use a brand new toothbrush, not one that has ever been in anyone’s mouth.
- Dish Soap – For cleaning the dolls! I find the suds help get all the dust out of those tight spaces. You could also use hand soap, but make sure it doesn’t have any moisturizers in it first!
Safety First

ALWAYS WEAR YOUR RESPIRATOR WHEN SANDING.
Resin dust does not decompose, and the extremely fine particles often stay stubbornly stuck in your lungs for an extended period of time. Even short-term or limited exposure to airborne resin dust can result in respiratory irritation or inflammation that can last a long time. Excessive or repeated exposure can result in lung damage or scarring.
I CANNOT STRESS THIS ENOUGH. WEAR A RESPIRATOR.
You can also reduce your risk by sanding in a well ventilated space or with an air purifier running beside you.
It is also good practice to wear gloves and eye protection, to prevent all that microplastic from getting into your body through other avenues.
And of course (this is very important!!!) do not sand dolls around pets! Remove them from the room you will be working in before you get started. You can wear a respirator, but they cannot!
Wet vs. Dry Sanding
Under most circumstances, wet sanding is the best option for sanding resin. It is safer and makes much less of a mess. Just by keeping your project thoroughly wet, you can cut down on the amount of dust that goes everywhere by almost 100% if you’re diligent about it. Additionally, the dust can build up on the sandpaper to create more grit and result in a nicer finish with fewer scratches.
However, there are certain advantages to dry sanding–IF you are sanding in a well ventilated space, away from other people and animals, and have a very good, well-fitted respirator.
Dry sanding can allow you to see things better, so you can be more informed on what you’re doing and what still needs to be done. It will also prevent your sandpaper from degrading quickly, since even sandpaper labeled for wet sanding will fall apart quicker with water. If you have to do some extensive reshaping with the sandpaper, dry sanding can help you do that quicker. But again, it makes a HUGE mess.
Selecting Your Sandpaper
It can be a little overwhelming to try to choose the right sandpaper for the job, but don’t fret. It isn’t as complicated as it seems!
Let’s start with grit. Grit describes the texture on the sandpaper. Lower numbers will be very gritty and will sand rough and quick; higher numbers will be smoother and should be used to polish out fine scratches.
Sandpaper around 120-300 is what you would want if you have a large mod you want to make that would require sanding down a significant amount of resin.
400-800 is an appropriate starting place for sanding off supports or small print marks.
1000-2000 is what you should reach for if you have fine scratches or cloudiness you want to polish away.
Of course, each brand and color of resin is going to behave a little differently. For most of my dolls, I recommend starting at 400 and moving straight up to 1000 only if they need a little extra polishing–though darker or more transparent dolls may require more work.
Next, make sure the sandpaper you select is labeled “wet/dry” or “wet sandpaper.” Traditional sandpaper rapidly disintegrates in water, so it won’t do you any good. Or, you could forgo the “paper” aspect altogether, and opt for a sanding sponge instead.
Sanding sponges are exactly what they sound like. They are a thin, spongy material with the sanding medium on one side (or several), and there are many advantages for using them over traditional sandpaper. Not only are they easier to hold onto, they degrade much slower, and they conform much better to the elaborate curves and details on BJD parts. They also hold water better (duh, because they’re sponges) so they make wet sanding much more convenient! Just make sure you get the thin ones, not the ones that look like bricks!
It might seem like sanding sponges are the more expensive option, but in many cases, you can rinse them off when you’re done and get a few more uses out of them.
Sanding off 3D Print Supports

Sanding off the support marks from a 3D printer can be daunting. This will require a lot of sanding to get smooth, and you may think you are done at a certain point only to dry the piece off and discover that there are still marks you couldn’t see when the part was wet.
You COULD just jump right in with 220 grit sandpaper and start sanding like a madman, but you’re likely to destroy any details around the support marks. I try to be very conscious about how the supports are positioned on my dolls to avoid placing supports too close to detailed areas, but sometimes this cannot be avoided. So what can you do instead?
This is where the clippers come into play. Using the clippers, you can carefully clip or cut away the worst of the supports, leaving you with a smoother surface to start with. Pay extra attention to the joints and make sure there are no lingering supports that could scratch as the doll articulates.

Then, you can go in with 300-400 grit sandpaper. Get all up in that dish of water and start gently sanding the doll, working the sandpaper in small circles as you go. Keep the doll wet by regularly dipping them in the water to rinse away the dust.
Once the shape is smoothed out, you can then go in with a higher grit and sand the area the same way you would sand the rest of the doll–though it may require a bit more attention to polish out any scratches from the grittier sandpaper.
Sanding the Rest of the Doll
3D resin prints are often shiny, and can bear little defects from all kinds of minor issues, such as subtle lines between layers, or scraggly scars from some debris or obstruction in or around the vat during printing. These are common, and most artists do not consider these flaws substantial enough to rate the print as B-grade.

With that said, most of the sanding you will need to do for the rest of the doll will be easy. Repetitive, tiring, and time consuming, sure, but comparatively easy.
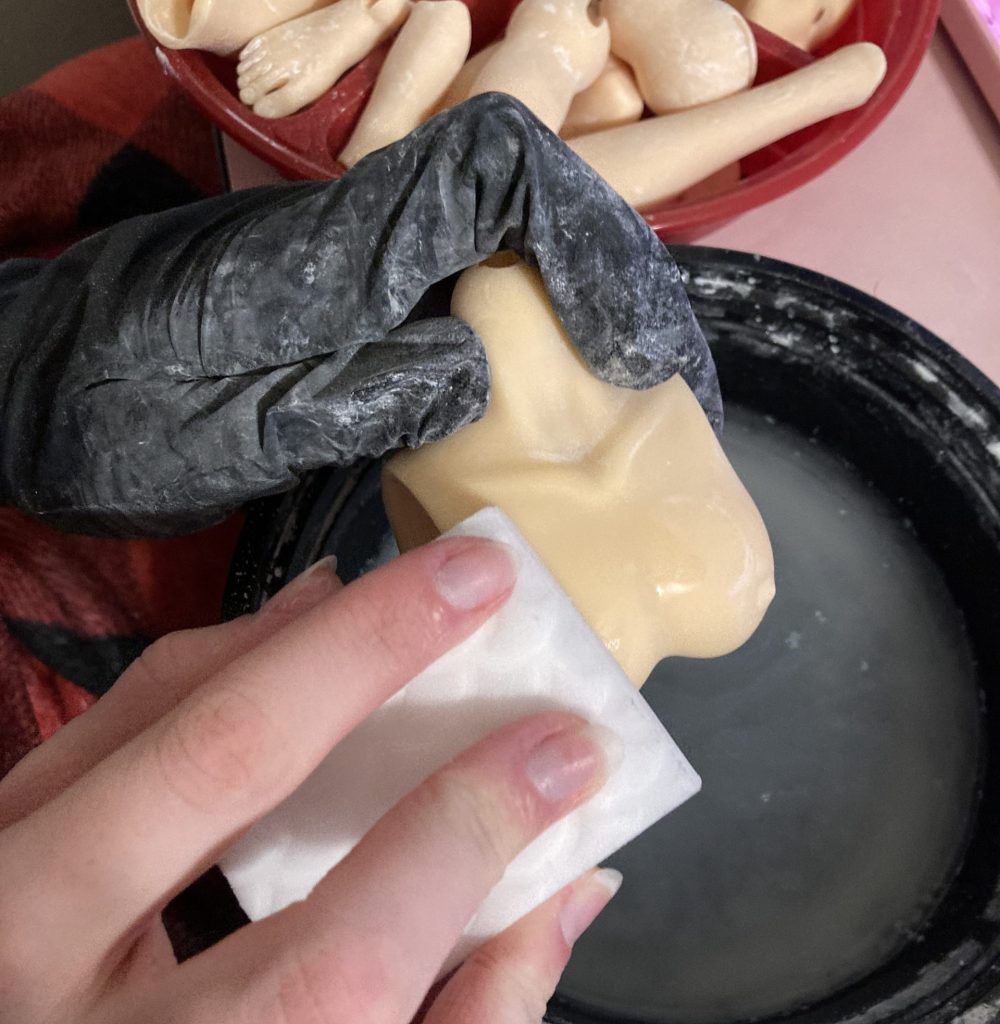
Using a 400-800 grit sandpaper or sanding sponge (depending on availability and preference), wet sand in a tight, circular motion when possible. This will create the most even surface. Sanding back and forth could result in unevenness and deep scratches that will require more work to sand out.
Be patient and don’t press too hard while sanding. Take extra care and time to sand around important details, such as hands and busts, so you don’t accidentally end up dulling them. Once you’re done with a piece, you can scrub at it with a wet melamine sponge to soften any micro-scratches from the sandpaper.
If you only sand parts of your doll, they may end up looking splotchy, as the sanded parts will be matte and the unsanded parts will be shiny.
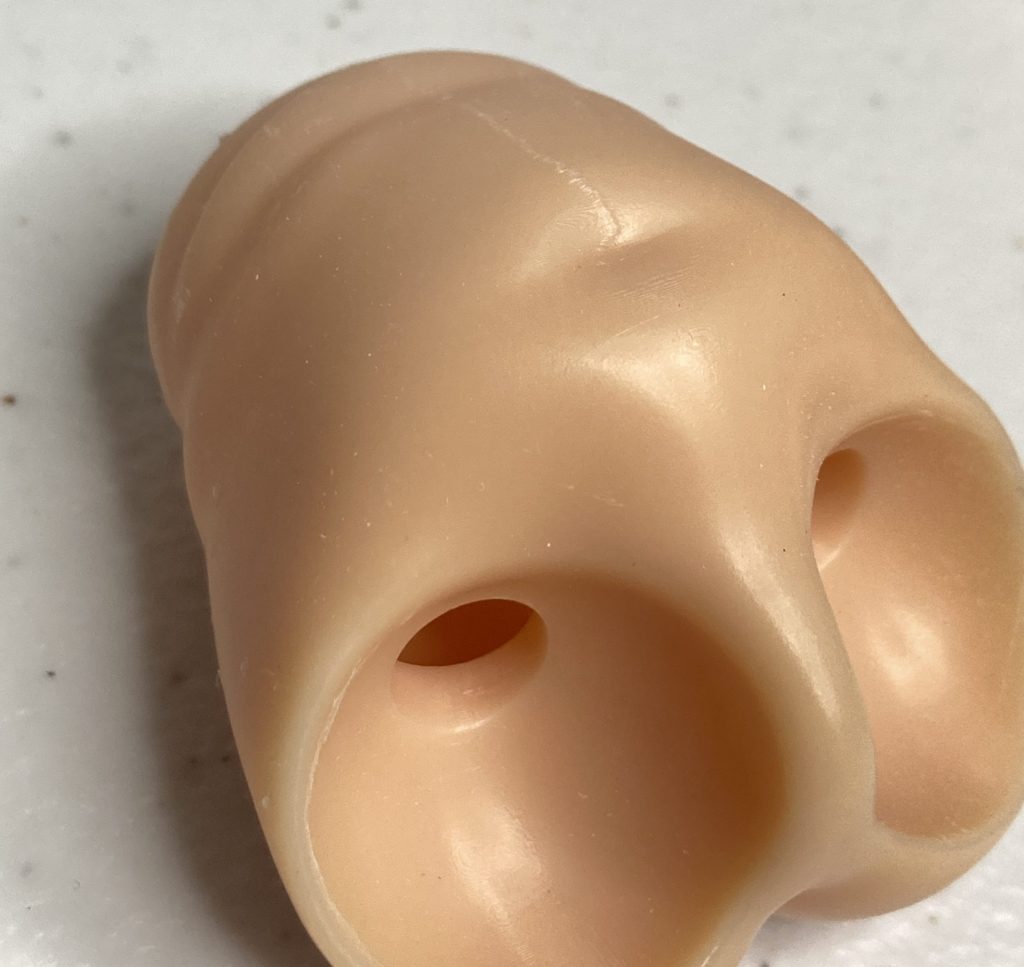
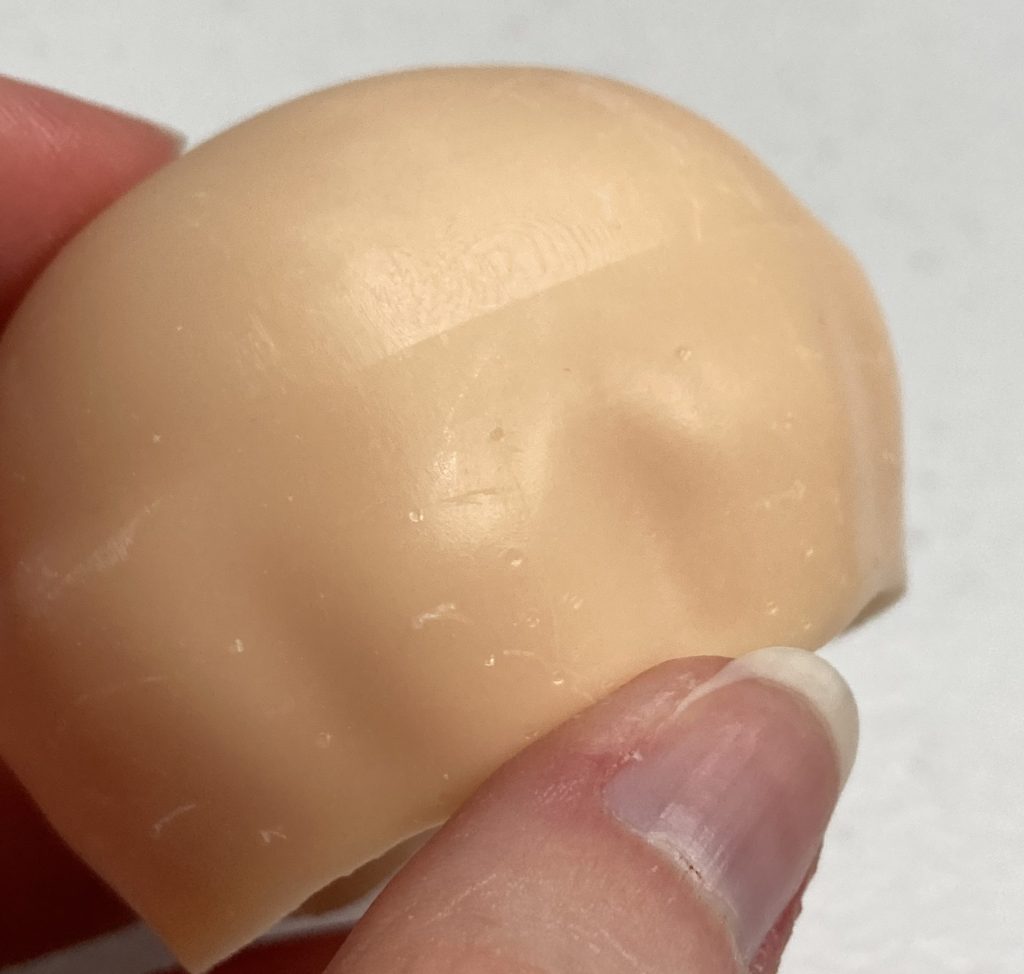
Sanding the Doll Face
I actually do this part first, which is a weird thing to admit this late in the article, I know. However, since the doll’s face is the most important piece to get right (and the most difficult to sand), I want to tackle it early on while my tools are the cleanest and my patience is at its highest point.
The face takes the longest by far. The small details and the depth of the creases around the mouth and eyes can make this part a serious challenge, and it may require even more careful sanding if the headcap or faceplate isn’t a perfect fit.
Sanding the face starts out the same way as the other parts, but take care to start in open areas like the cheeks and forehead. Then, using the corner of your sandpaper or sanding sponge, gently (GENTLY) sand in tiny circles around the details of the face. It may be difficult to get around the odd shapes or creases in a face (like the sides of the nose or inner corners of the eyes), but be patient! Rushing through this could ruin the shape or details of the face.

Use only 400 grit and higher for this step!! You want to smooth out defects or shininess, but you do not want to blunt sharp features.
This is where you could utilize sanding picks to help you get into these tight spaces, but keep in mind they are usually low grit. Try making your own by wrapping a small amount of sandpaper around the tip of a wooden toothpick.
If you absolutely cannot get to all the parts–don’t fret! Those spots are often highly blushed, so you won’t even be able to tell once they have a faceup.
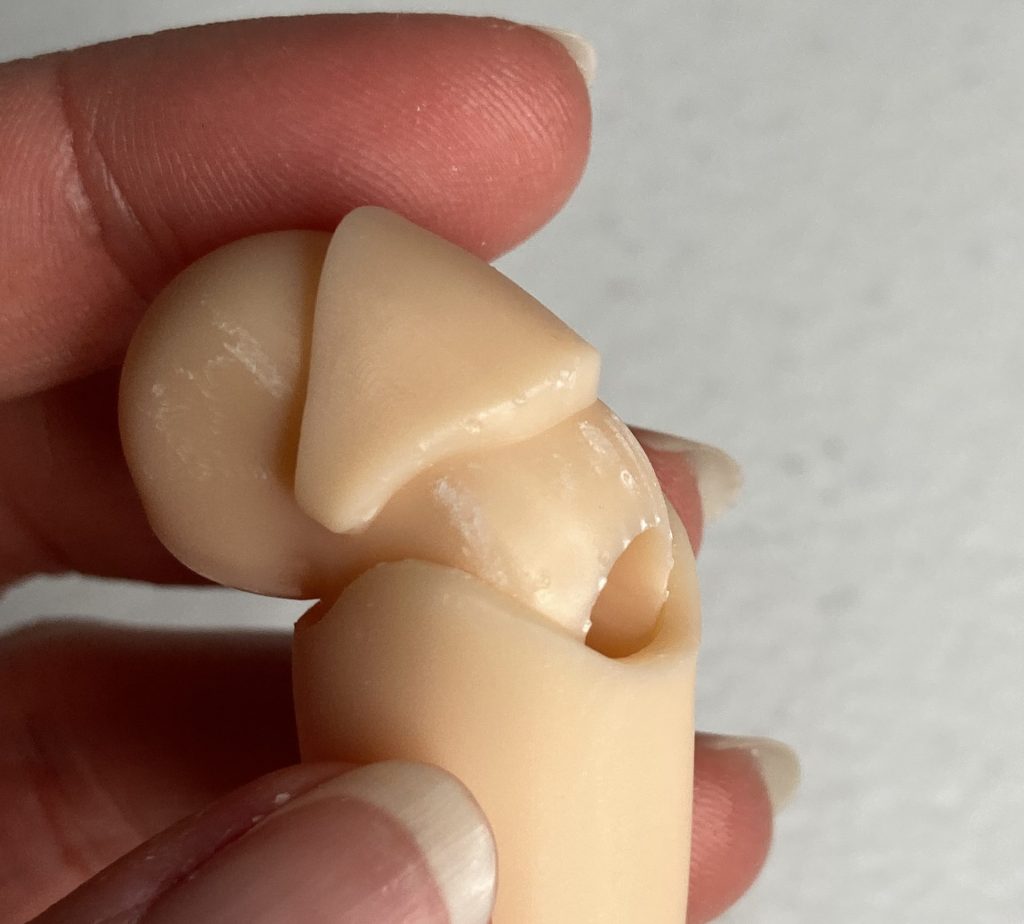
Getting a Tight Joint to Fit
Again, this isn’t very common when you buy a garage kit directly from the artist, but you might need this for STLs you’ve printed or when prototyping a doll of your own.
Depending on how bad the fit is, you’d select between an extremely low grit sandpaper (like 120-220) or an exacto knife (with a new, very sharp blade). Keep in mind that not all resin is made equal! Softer, impact resistant resin will be easier to cut with a knife, while hard resin is more likely to chip or crumble.

Using either of those tools, you can shave down the sides that don’t fit a little bit at a time. Note that the knife will create some jagged or flat spots, but don’t worry about that too much. You’ll be sanding it more later anyway!
While the pieces are DRY, try to force the joint together and move it around. This will create cloudy streaks or scratches to indicate where the resin experiences the most friction, which can inform where you should sand. Obviously don’t force the piece so much that it breaks or gets stuck… If it won’t go with moderate force, sand it all around more before trying again.
Polishing a Doll
Sometimes, dolls require a little more work to look finished. Darker or semi-transparent resins will require more polishing, otherwise they will look de-saturated, dusty, or cloudy. Go from 400 > 800 > 1000 > 1500 > 2000. Although, you will almost never need to go all the way to 2000. Inspect the resin after each pass with a higher grit to determine if it needs more polishing. It can also help to wash the parts in between each pass, to make sure the cloudiness is due to the texture of the resin rather than a buildup of dust stuck to it.
At the end, you can go in and carefully scrub the entire doll down with a wet melamine sponge. This can help restore the resin to its original color (since sanding can dull vibrant colors or make them appear cloudy) as well as smooth out any remaining faint scratches or defects.
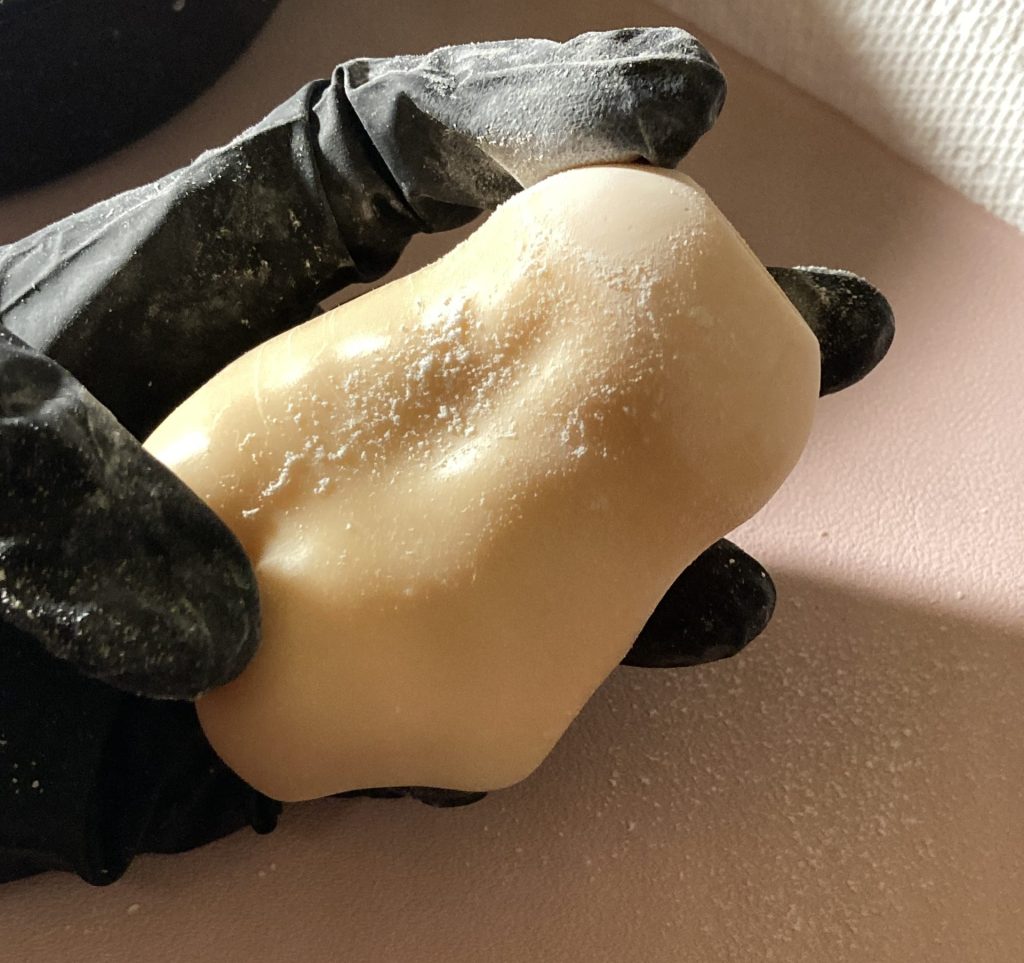
Cleaning up a Doll After Sanding

Once your doll is fully sanded, they’re going to look like a MESS. Getting all that resin dust off can be a real pain in the ass, and there’s certainly more than one way to do this, but this is the method that works for me.
Break out the soft-bristled toothbrush and dish soap. Using a drop of dish soap and a bit of water, gently scrub at the doll, particularly around areas with creases or a lot of detail, like faces, ears, toes, and belly buttons. DO NOT PRESS HARD or you might scratch the resin again.

Once you have scrubbed and rinsed all the parts, set them out to air dry. You can also gently pat them dry with a paper towel or other soft towel, but that tends to leave little dust particles or fibers behind that can be annoying if you intend to give them a faceup soon.
You might notice that after the piece dries there is still some dust gummed up somewhere. Water is really good at disguising what parts are still dusty and which ones aren’t. Just go at it again with the toothbrush and soap!
I usually do this cleaning over my bathroom sink, but it’s a good idea to put something in the way of the drain to catch a piece when you inevitably drop one, so it doesn’t go rocketing down the drain. You can also do this over a large bucket of water, but I find it is still better to rinse them under running water to minimize soap residue and really sweep that dust away. I know my drain doesn’t allow for anything bigger than a grain of rice to fall through it though, so it’s not something I have had to worry about.
Now that the doll is all cleaned up, you can move on to stringing them together or gluing in their magnets!
IMPORTANT IF YOU INTEND TO GIVE THE DOLL A FACEUP:::: Allow 24 hours for the resin to dry COMPLETELY before you apply a layer of sealant. Resin is slightly porous and most sealants (notoriously MSC) are extremely picky about moisture.